I found these inexpensive curtain rods from CB2. They are slim, simple, and modern (not for those who like a more ornate, chunky, or traditional style). They work for us.

After falling in love with images like this, this, and this, I knew that I wanted bamboo shades layered with curtains throughout our home. Look at how pretty they are in John and Sherry's first house. We have multiple dark brown furniture pieces and so I shopped around for some dark brown bamboo shades. Turns out, they aren't as easy to find as the medium and lighter tones. So, I made my first mistake. I bought something cheap and dark brown that I didn't love. And they looked cheap.

At the time, our trim was still green (from the previous owner) and so I outside mounted the blinds to help cover it up. It did help make our windows appear larger, but you'll see below that we ended up switching to an inside mount later.
Our windows are 72" tall and I wanted a functional shade. The thought of a shade that couldn't cover the entire window when lowered seemed odd to me. Unfortunately, this severely limited our options because 6 ft long bamboo roman shades are pricey. I admired bamboo shades from lots of different online retailers, but could not find any suitable options less than $50. With at least seven windows to outfit with these shades, $50 was not going to cut it. I eventually decided on these.

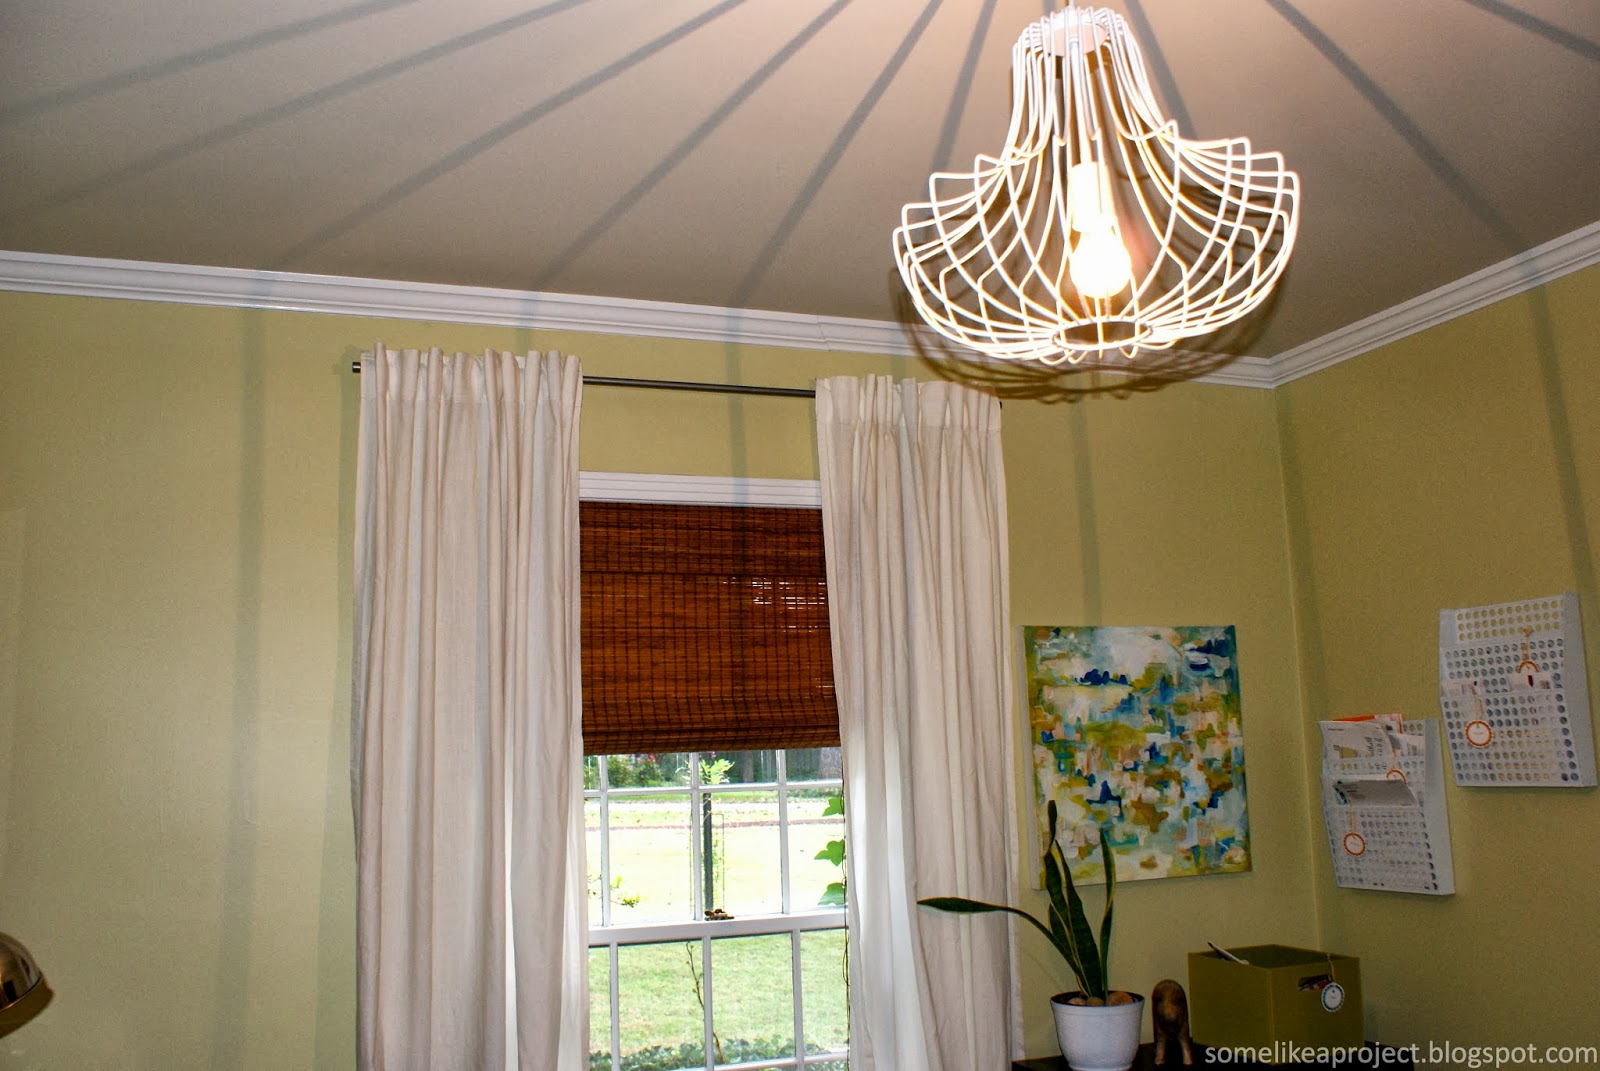
As you can see, in person they are definitely not as dark as pictured online. :( Oh, well. It's one of those sacrifices I was talking about earlier. With the trim painted white, I no longer wanted to cover it up and so we inside mounted them with just a few screws like this. It's quicker and easier than messing with those little brackets they provide. That is, until you drill a hole through the blinds.

Whoopsie. The good news is that it's covered up by the overhanging part at the top of the shade. Whew.
For the living room, dining room, office, and back guest bedroom, we chose Ikea's Ritva curtains. At $34.99 a pair for weighty, slightly textured fabric, they're a steal.


Make sure to wash, dry, and iron your curtains first! Mine certainly came out of the dryer a wrinkled mess. I found that spritzing them with water as I went along helped tremendously.

In the front guest bedroom, I planned to use the Ritva curtains also, but when we hung them up they seemed heavy and read as too off white for the room (the bright white duvet was really making the curtains look dingy). So, we ended up sticking with the original Ikea Vivan curtains to keep the light, white, breezy look. (The Vivan curtains are only $9.99 a pair!)

Now for some more finished eye candy.


Much better.
This weekend we're starting to tackle some projects to boost our curb appeal. I'm so excited. It's going to take some time (read: several weekends) so stay tuned for other project reveals including our new DIY floating fireplace mantel that I cannot wait to decorate for Fall!
Hope everyone has a safe, happy, healthy, productive weekend!
No comments:
Post a Comment
Thoughts, ideas, suggestions...